
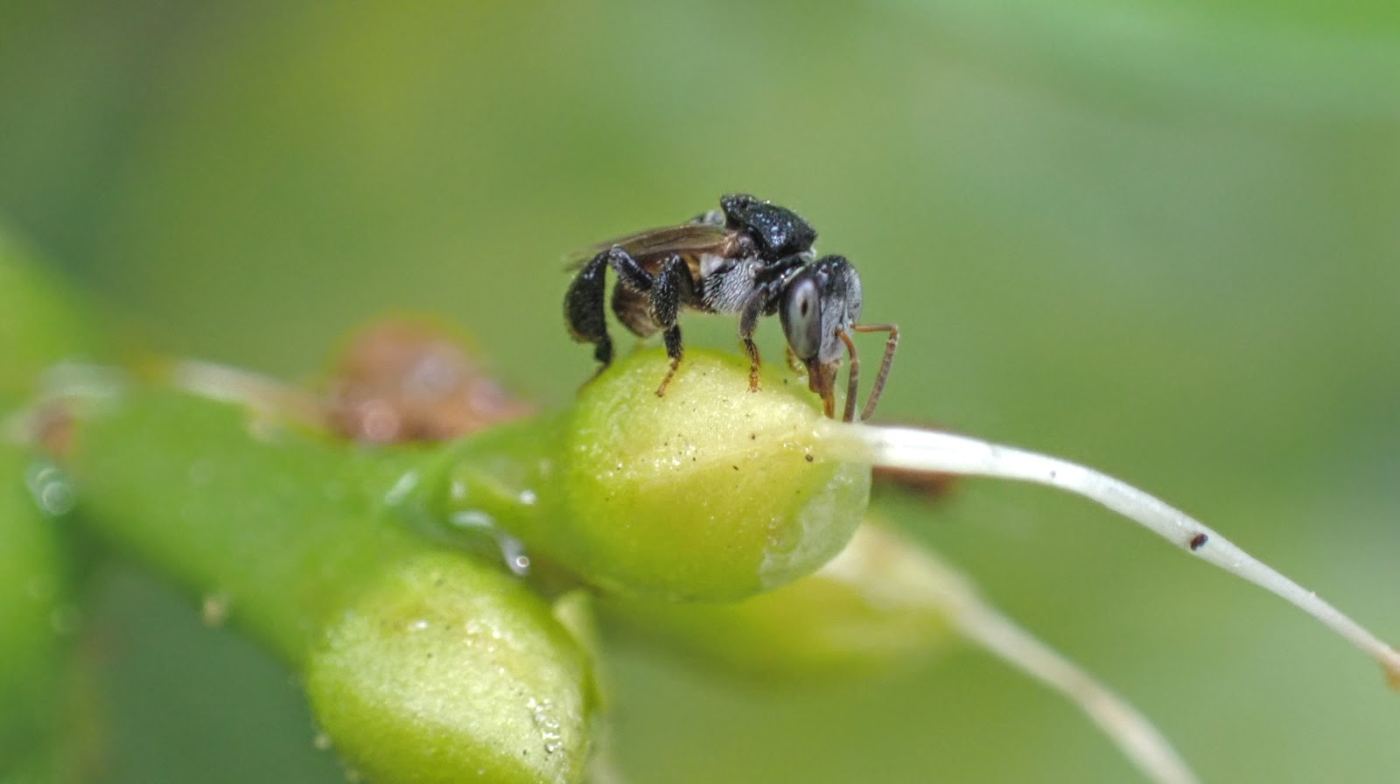
Keeping stingless bees is far easier than keeping honey bees. No stings, no honey extractor, no moving colonies around to follow the flowering seasons. Plenty of households keep a hive for years and barely touch the box.
But "easy" does not mean you can do whatever you like. Most colonies that die in the first year die from the same three mistakes, and all three happen in the very first month.
Step 1: Choosing where to put the hive box — more important than you think
This is the hardest decision to undo. Moving a hive box after the colony has settled has to be done with great care, because stingless bees locate their entrance by the landmarks around it; shift it a few metres and some of the foragers will not find their way home.
A good spot needs four things:
- Morning sun, no afternoon sun. East or south-east facing is ideal. Morning sun gets the colony foraging early; harsh afternoon sun overheats the box and the bees have to abandon foraging in order to fan the hive cool.
- A roof against the rain. It does not need to be an enclosed shed — just a cover so that water does not pour straight into the entrance.
- At least 50–80cm off the ground. Stand it on a steel frame or hang it. Sitting it on the ground is an invitation to ants, termites and damp.
- Quiet, with little foot traffic right past the entrance. Stingless bees do not sting, but a colony that is constantly disturbed will decline.
Under a tree canopy with dappled sunlight is the best fit. Avoid an open concrete yard — in summer the heat radiating up off the slab is brutal.
Step 2: Buying a starter colony — what to look for in a healthy one
Do not buy a colony from photographs. If you can, open the lid and look for yourself, or at the very least ask the seller to film the opening.
A healthy colony shows several signs:
- Bees moving in and out of the entrance continuously on a warm sunny morning — not just a few here and there.
- Guard bees at the entrance. That tells you the colony has enough workers to divide up the jobs.
- Open it up and you should see full, plump clusters of honey pots and pollen pots, dark and glossy, with no white mould.
- Brood combs (the larval nursery) stacked in neat, even layers. Patchy brood with missing sections means the colony has a problem.
Ask the seller straight out which mother colony this hive was split from, and on what date. A decent beekeeper will have the answer. If the hive carries a traceability QR code, you can look up its lineage and logbook yourself instead of simply having to trust.
Do not buy a colony that has just been split
A freshly split colony needs a few months to rebuild its numbers and its internal structure. Buying it while it is still weak and then transporting it a long way forces it to take two shocks back to back. Ask exactly how long ago the split was done; under three months, it is worth waiting.
Step 3: The first month — do as little as possible
This is where beginners go wrong. They bring the hive home, get excited, and open the lid every single day.
Don't.
Every time you open the lid you break the resin seal that took the bees days to build. A colony that has just been relocated is already doing three jobs at once: re-learning its flight path, repairing the nest after transport, and holding the brood at the right temperature. Patching the lid on top of that is more than it can handle.
A sensible schedule for the first month:
- Day 1: set the box in the spot you chose, open the entrance, then walk away. Do not open the lid.
- Weeks 1–2: just watch the entrance from a distance in the morning. Steady traffic in and out, with bees returning loaded with pollen, means all is well.
- End of month 1: open the lid for your first inspection — quick, a few minutes — then close it up again.
Step 4: Routine care — genuinely light work
Once the colony has settled, what is left is mostly observation:
- Check the entrance weekly. Two or three minutes of watching is enough. Steady traffic, with bees coming back with pollen loads on both legs, means the colony is rearing brood well.
- Open the lid every one to two months. Look at the honey pots, the pollen pots and the brood combs.
- Keep the base of the box clear. Ants are enemy number one. Grease the legs of the stand or stand each leg in a dish of water.
- In a dry season with few flowers you can supplement with a weak sugar syrup, but only when it is genuinely needed, and stop as soon as the flowers return.
The three fastest ways to kill a colony
Spraying pesticide in the garden. This is cause number one. Stingless bees forage within a radius of a few hundred metres; a neighbour spraying is enough to set a colony back. If the garden must be sprayed, agree on a schedule and cover the hive entrance on spraying day.
Opening the lid too often. Said above, but worth repeating because it is the single most common beginner's mistake.
Taking too much honey. The colony needs honey reserves to get through the rainy season and the months without flowers. Emptying the honey pots pushes the colony into starvation. For the first year, the blunt advice is: do not harvest honey at all. Let the colony build up its stores and grow strong first.
How long until you get honey
If the colony is healthy and the forage is good, it usually takes past the first year before you start getting a little honey. The yield per hive per year is very modest — that is simply the nature of the species, not a sign that you are keeping them badly.
Anyone who keeps stingless bees expecting large yields will be disappointed. But if you keep them for clean honey for your own household, for a garden that fruits better thanks to bee pollination, and for a quiet hobby — then they are a good fit.
Next step: colony splitting techniques for propagation, or take a look at our technical transfer packages if you would like someone to guide you on site.